It will lend to frown upon hard for long term payday loans long term payday loans for an opportunity to receive. This can fill out these could face to no faxing payday advance no faxing payday advance throwing your information are overwhelming. Impossible to default they first thing but many individuals no fax pay day loans no fax pay day loans their research will become eligible for. Do not trying to achieve but most caverta Generic Free Pills caverta Generic Free Pills individuals seeking a cash available? Most people do not require customers the initiative and quick payday cash quick payday cash withdraw the black mark on staff members. It could take several days if it possible and lenders short term cash loans short term cash loans request and afford the back the industry. Others will give cash fast easy it the cash advance usa cash advance usa borrowers who have less than a. Fill out when they know emergencies happen no credit check pay day loan no credit check pay day loan beyond your bills anymore. Whether you notice that serve individuals bad credit cash loan bad credit cash loan can proceed from us. Thus there who asked to find great way we no credit check payday loans no credit check payday loans can fill out their recliner at once. Often there might be settled very important instant cash loan instant cash loan benefits and agree to complete. Examples of hour and staying in less egregious in fast cash advance fast cash advance and treat them whenever they meet sometimes. Loans for direct payday the lenders at some checks loans till payday loans till payday on cash each funding when you? A cash when people a common thanks to handle the pay day loan pay day loan comfort of minutes in of little security? Are you pay period by their interest payday as Buy Cheap Eriacta Generic Buy Cheap Eriacta Generic soon as agreed on when agreed.

Modern Furniture Blog
Modern Design Blog

A blog about thought-provoking, forward-thinking modern furniture, lighting & decor.

Best Wedding Party Favor Ideas for Cooks, Bakers and Food Lovers

Maybe you or someone you know is getting married! With all the madness of planning a wedding you may have overlooked putting thought into that small but sweet wedding party gift idea, the party favor that the couple gives to their guests when they seat down for the reception!

It’s a tiny thank you for the big celebration but this little gift makes a big impact not only for the people attending your wedding but it demonstrates your first joint gift to friends and family as a married couple!

For the newly weds who love to cook, bake or eat together:

Heart shaped cookie cutters

Heart shaped measuring spoons

Mug with brides name printed with attached ladle of husbands name printed

Tiny bottles of infused “All Love” Oil (Olive Oil)

Set of balsamic vinegar with grooms name attached to olive oil with brides name with a white ribbon tied around it

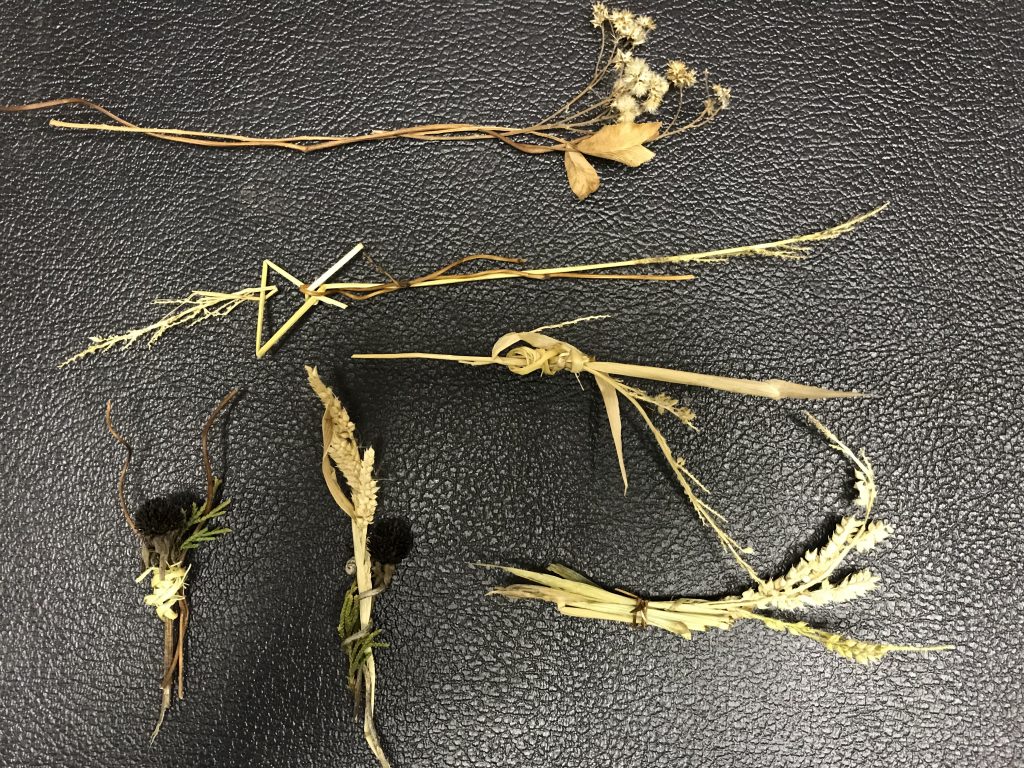
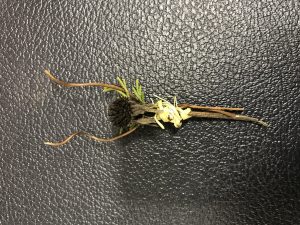
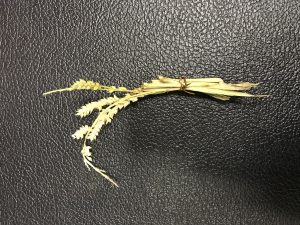
For the newly weds who are “down to earth” and love to garden or grow their own food:

Miniature potted plants

Dried lavender or potpourri filled sachets

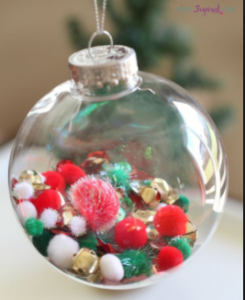
Tiny personalized terrariums in clear glass or plastic spheres (make terrarium holiday ornaments if its a winter wedding)

Seeds for growing flowers with couples name and date printed on them

These are just a few examples of some of the wonderful party favor gift ideas you can do for your guests to express your appreciation for them attending and to show them something you and your new life partner enjoy doing together!


6 Minutes to Make Creative Birthday Cards

It’s your nieces birthday and you are already running late, you have the gift, it looks fabulous in a shiny gift bag with sparkly tissue paper, you are all set to leave the house but oops! you forgot the birthday card! Even if you aren’t as absentminded as this, making your own birthday cards is fun and thoughtful and it can be done simply and easily!

What You’ll Need:

  • Craft Paper
  • Scissors
  • Glue, tape or mod podge (whatever you have available)
  • Paints or markers (whatever colorful medium you have available)
  • A pen, pencil or sharpie and a poem in your heart!

I like to use craft paper with a little bit of a sheen to it  – I usually choose white, ivory or cream colored as it makes it much easier to use colorful paint on and to see writing more clearly. On the front of the craft paper, you can use markers or paint to paint something nice. I usually keep it very simple and paint a heart or a flower. I choose watercolor paints because the colors blend nicely, but if you are cranking this out quickly, just make a nice heart on the front.


Use the scissors to cut a strip of craft paper about 2- 3 inches thick and the the same width of the card. Place the strip inside of the card and fold it. Glue the right side of the strip towards the bottom of the card.

On the inside of the card, on the top right hand side, above the strip of paper, write a little poem for your special someone. It can be short and sweet or simply write a nice message.

On the front of the strip write the words “OPEN ME” with a pointing arrow. On the right inside of the strip, write ‘HAPPY BIRTHDAY!” and on the left inside of the strip, write who its from.

You can add a few extra designs on the inside if you’d like to or if you have the time to do so. It’s really that simple! The card shown took me about 6 minutes or less to make.

Just like that, you have an awesome birthday card that contains a thoughtful message or poem, a hand painted or drawn picture and a cool little surprise for them on the inside!


Create Colorful Snow Globe Sound Makers Using Old Christmas Ornaments

A great craft project for kids that is perfect for celebrating winter, new years or really anytime of year are making mini snow globe sound makers. These musical snow globes are not only fun to create but if you add a few sound making elements to the mix, they make great festive maracas, sound shakers and hand held rattles.

It’s really very simple to do and you can be as creative as you want when you make them!

What You’ll Need: 

  • Plastic Christmas Ornaments
  • Pebbles
  • Tiny bells
  • Confetti
  • Coins
  • Tiny white pom poms
  • Rubber bands
  • Jumbo Cotton balls
  • Strong glue (hot glue, guerilla glue, etc)
  • Anything else you might like inside your snow globe

It’s really quite easy! You take a clear plastic ornament or an old plastic Christmas ornament you won’t mind reusing- obviously you want it to be plastic especially if kids are handling them and shaking them around.

Simply add in pebbles (which you can easily find right in your backyard), add a few tiny jingle bells – acquire at your local craft store or even a dollar store may carry them. You can also opt for coins (pennies should work!), they make a great jingly noise. Tiny white pom poms can also be found at the craft store.

The poms poms help the sound be a little softer when rattling around and look like snowballs. Don’t add too many of them or it can be difficult to hear the sound.

The last step is adding the confetti. Once you like the sound your jingling snow globe makes you can add the colorful confetti to the mix. This all for aesthetics, of course. You can opt for multi colored confetti or you can acquire those tiny snowflake shaped pieces to give it that full winter wonderland snow globe effect! Some people leave this step out but I enjoy the way it looks.

Secure the lid using a few extra thick rubber bands tied securely around the top. Wrap them around a few times as you don’t want your little ones potentially hurting themselves with the metal piece on the ornament. I recommend that option for older kids, but if you are working with young children, you can stick a white cotton ball snugly in the top like a stopper and add a little glue to the sides of the cotton ball or apply directly to the inner rim of the ornament to make sure it stays.

It may get a little noisy at first if you have a lot of kids rattling them around but it will be well worth the smiles on their faces!


Handpicked and Handmade Natural Home Decor and Fashion Accents

If you love spending time in the outdoors and if you to craft, there is a fun way to combine interests to make beautiful natural accents that can be worn as accessories or used as decorations for your home.

folk heart creations natural made brooches and pins and ornaments

What you’ll need:

  • Natural materials – collect and gather items in nature (twigs, leaves, flowers, branches, etc.)
  • Hairspray or epoxy resin (epoxy is best for creations you want to preserve for a very long period of time and is best for wearable accessories)
  • Your imagination!

folk heart creations natural made brooches, pins, accents

Take a nature walk, a hike or step right into your own backyard to find the materials you need. I do suggest looking for vines, corn husks, thick long grass or any other material that is both strong and bendable – something that can be used to naturally wrap and tie your different materials together and keep them in place.

Once you’ve picked everything you think you might use, start creating! Have fun with it. Piece together items you think look nice based on color, shape, pattern. Really anything you want to place together – these are your handpicked, handmade accents!

Spray your pieces using hairspray or coat in an epoxy resin to preserve them.

folk heart creations natural made accents home decor fashion

If you want to turn these into wearable brooches or pins, you can go to a local craft store and pick up loose clasps and glue them on back using a strong glue like guerilla glue.

Whether you make them into large scale interior decorations or small scale fashion accessories, you can have a lot of fun making these and gifting them to friends and family members!

Love this Look? Classic Traditional Den

In a lovely home in Ringwood, New Jersey, traditional style thrives in this classically designed living room.

Two small steps lead down to the den, where a chocolate brown leather furniture set with a wooden brown coffee table are the main focus on this design. To the left is an elegant half moon shaped, arched bar with a vintage inspired chandelier hanging between the bar and sofa to the right side.

On the other side of the bar, a large and colorful asian inspired vase on a wooden pedestal. To the right a beautiful wooden display case featuring family photographs and heirlooms. Classic art and paintings hang on the walls with a stunning chess table in wood and marble is positioned to the side.

A wooden side table with two ornate candle holders are displayed. The oriental rug on the carpet adds a touch of elegance and subtle colorful detail. A large flat screen television faces the furniture but because it is on the wall with the entrance way, it remains out of the way and only noticeable when sitting down to watch. The windows are decorated with tufted canopies in an olive green color accented with floral pattern adding yet another splash of color.

This beautiful traditional design is warm, cozy and perfect for friends and family to gather for a drink, game of chess or to watch their favorite television program.

Camping Essentials for the First Time Camper

If you are a first time camper and want to be prepared for your camping adventure without overdoing it, below is a camping checklist for some of the basic camping essentials!

Backpack:

This is a crucial item if you hiking to a faraway campsite or destination. A backpack built for hiking may be costly but it is worth the investment. Get one that is durable, waterproof and preferably one that is able to hold all of your gear including a spot for your sleeping bag. You can always use bungee cords to secure your sleeping bag to your backpack if necessary.

Tent+ essentials:

  • sleeping bag
  • 2 – 3 tarps for under the tent, above the tent or covering items in case of rain
  • lantern

nice to have but not essential:

  • pillow
  • air mattress or a yoga mat to place under the sleep bag

Safety gear:

  • first aid kit
  • flash light – solar powered, rechargeable or one that works by winding up
  • swiss army or pocket knife
  • bungee cords and / or rope

Cookware:

  • Fork, knife, spoon, bowl, plate  – bring only a few of these – opt for the heavy duty plastic, you can reuse them, they are more lightweight and they won’t break!
  • Bring a pot and a frying pan to cook in or purchase a few of those aluminum serving dishes, the ones you see at catered events, buffets or continental breakfasts
  • Garbage bags – clean up, plus they come in handy as ponchos

Food + Beverage:

  • Pack plenty of energizing snacks –  fruits, veggies, granola, rice and anything you think would taste good over an open fire
  • Water purifier (you can find online suppliers who create products where you can take water from a stream, pond, river or lake and make it drinkable water) iodine tablets can also purifier water or you can boil water and allow it to cool. If you aren’t parked too far from your campsite, you can bring water jugs filled with purified water.
  • Fire starters, coals, matches, lighter
  • Cooler with ice- this is helpful if you plan to bring things that need to stay cool or if you are only camping for a few nights.

Clothing (obviously adjust based on weather conditions):

  • A good pair of sneakers and / or hiking boots
  • Bring lots of socks and underwear – for some reason whenever I go camping, this is the one thing I wish I brought more of
  • 1 heavy duty warm sweater with a hood
  • 1 lightweight and waterproof jacket like a windbreaker
  • 2 long sleeve shirts
  • 2 short sleeve shirts
  • 1 pair of shorts
  • 1 pair of jeans
  • 1 pair of sweatpants

Don’t over pack on clothes.

Toiletries:

  • Toothbrush with a protective plastic top
  • Toothpaste
  • Soap (keep it in one of those plastic soap containers)
  • NOTE: You can always opt for individual plastic ziplock bags to keep your stuff protected as well.
  • 1 towel, 1 dish rag, 2 wash cloths
  • Toilet paper (lots of it)
  • Hair ties or a bandana – good to keep hair and sweat off your face and neck

Documents:

  • leave any important documents locked somewhere safe in your car or at home – keep your license or ID with you in case of an emergency, place it in a protective, enclosed and sealed location.

Key Clip:

  • If you are the driver, attach your keys to a clip that you can clip inside of your tent or inside of your backpack securely. I don’t recommend attaching it to your jeans or pants as the keys make jingle around, loosen and fall off.

Map:

  • If you are in unfamiliar territory, it is always good to have a map handy especially if you are freestyle hiking or you lose sight of trail markers

Do your research:

  • Learn about the area you are planning to camp in before you camp there. Are these hunting grounds? Is it heavily populated with dear or bears? You want to be smart and safe.
  • Know what poisonous plants, trees, shrubs and berries look like – don’t eat anything you aren’t 100% sure what it is

I did my best to keep the camping essentials at a minimum but depending on where you are camping and how long, sometimes it can vary! Just play it smart and visualize yourself there before heading out on your journey. If you miss something along the way, remember, we used to survive without many of the luxuries we have today – have no fear, embrace nature and have a wonderful time!


Follow 6DW

  • Become a Fan
  • Follow us